OPNsense WireGuard setup - Host your own VPN server
Do you wish to connect to your network and reach your local servers from anywhere? Read this article! I will go through how to set up your own WireGuard VPN server in OPNsense securely, easily, and with no extra installations.

Prerequisites
When you have set up your OPNsense firewall, you may want to host your own VPN server for various reasons. First of all, you can use it to access the management VLAN in your network securely, isolating it from unwanted access. You can also use it to access servers and services on your local network remotely, so if you host, for example, a private Gitlab server (or another internal system), you can still access it while being on the other side of the globe.
VPN stands for Virtual Private Network, and this is exactly what it is; you’re creating a virtual network between your PC and your firewall over the internet, allowing your PC to reach it privately. Then, through firewall rules on your router and redirection rules on your PC, you are able to access the services running on other networks/VLANs on your server connected to your router.
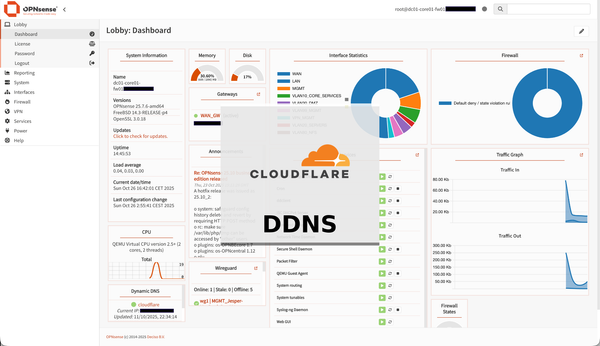
Before setting this up, you first need to install OPNsense (explained in my previous article Proxmox + OPNsense Setup - The Core Server) and, if you have a dynamic IP address, configure DDNS (which i did go through in the OPNsense Cloudflare DDNS Setup - Point Your Domain to a Dynamic IP article).
Create a WireGuard instance
The first thing you need to do is create a WireGuard instance, which is simply a VPN instance which you can later assign different peers and firewall rules to. You can have multiple different instances, enabling segmentation in what different VLANs different users can access.
Reserve an IP-subnet
Before setting up the WireGuard instance, you first need to come up with a desired name for the instance (that is descriptive of what it’s used for), the subnet which the clients are going to live on, and the outside ports used to reach the VPN instance. I highly recommend you take a look at my earlier IP/VLAN-plan article, where you will see that I have dedicated the entire "10.10.111.0/24" subnet for the management VPN. I have also created a tab called "VPN_MGMT", which will contain information about the instance, such as the tunnel address (which basically becomes like the gateway for the VPN clients), the DNS servers reachable by the client (which will only be your gateway in the beginning), the client sides allowed IPs (which describes what IP address ranges that the client will route to the VPN instance, instead of just running all traffic through the VPN), and lastly, a list of the actual clients, to keep it organised.
The default exposed WireGuard port is 51820, so use that, unless it’s already used by another VPN server on your network. If you later create another WireGuard instance or run another VPN solution, you will just give them a different exposed port, such as 51821. It’s a good idea to keep track of which ports you expose and what they belong to, as you can see in my IP/VLAN-plans articles "NAT exposed ports" tab.
For demonstration purposes, I will go with the following configuration:
- Name: MGMT-VPN
- Tunnel address: 10.10.120.1/24
- Listen port: 13830
- Allowed IPs: 10.10.10.0/24, 10.10.20.0/24, 10.10.21.0/24, 10.10.30.0/24, 10.10.80.0/24, 10.10.99.0/24
Set up the instance
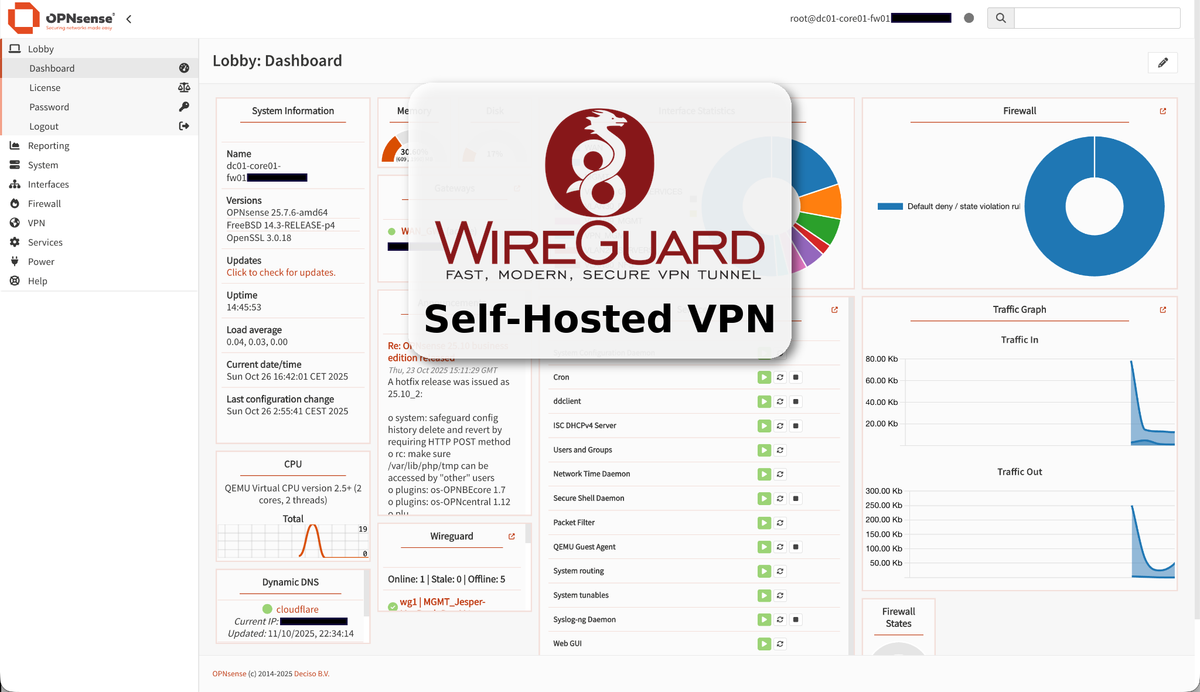
Now, go into your OPNsense Web GUI and navigate to "VPN" -> "WireGuard" and the tab "Instances". It should look like below, but empty.

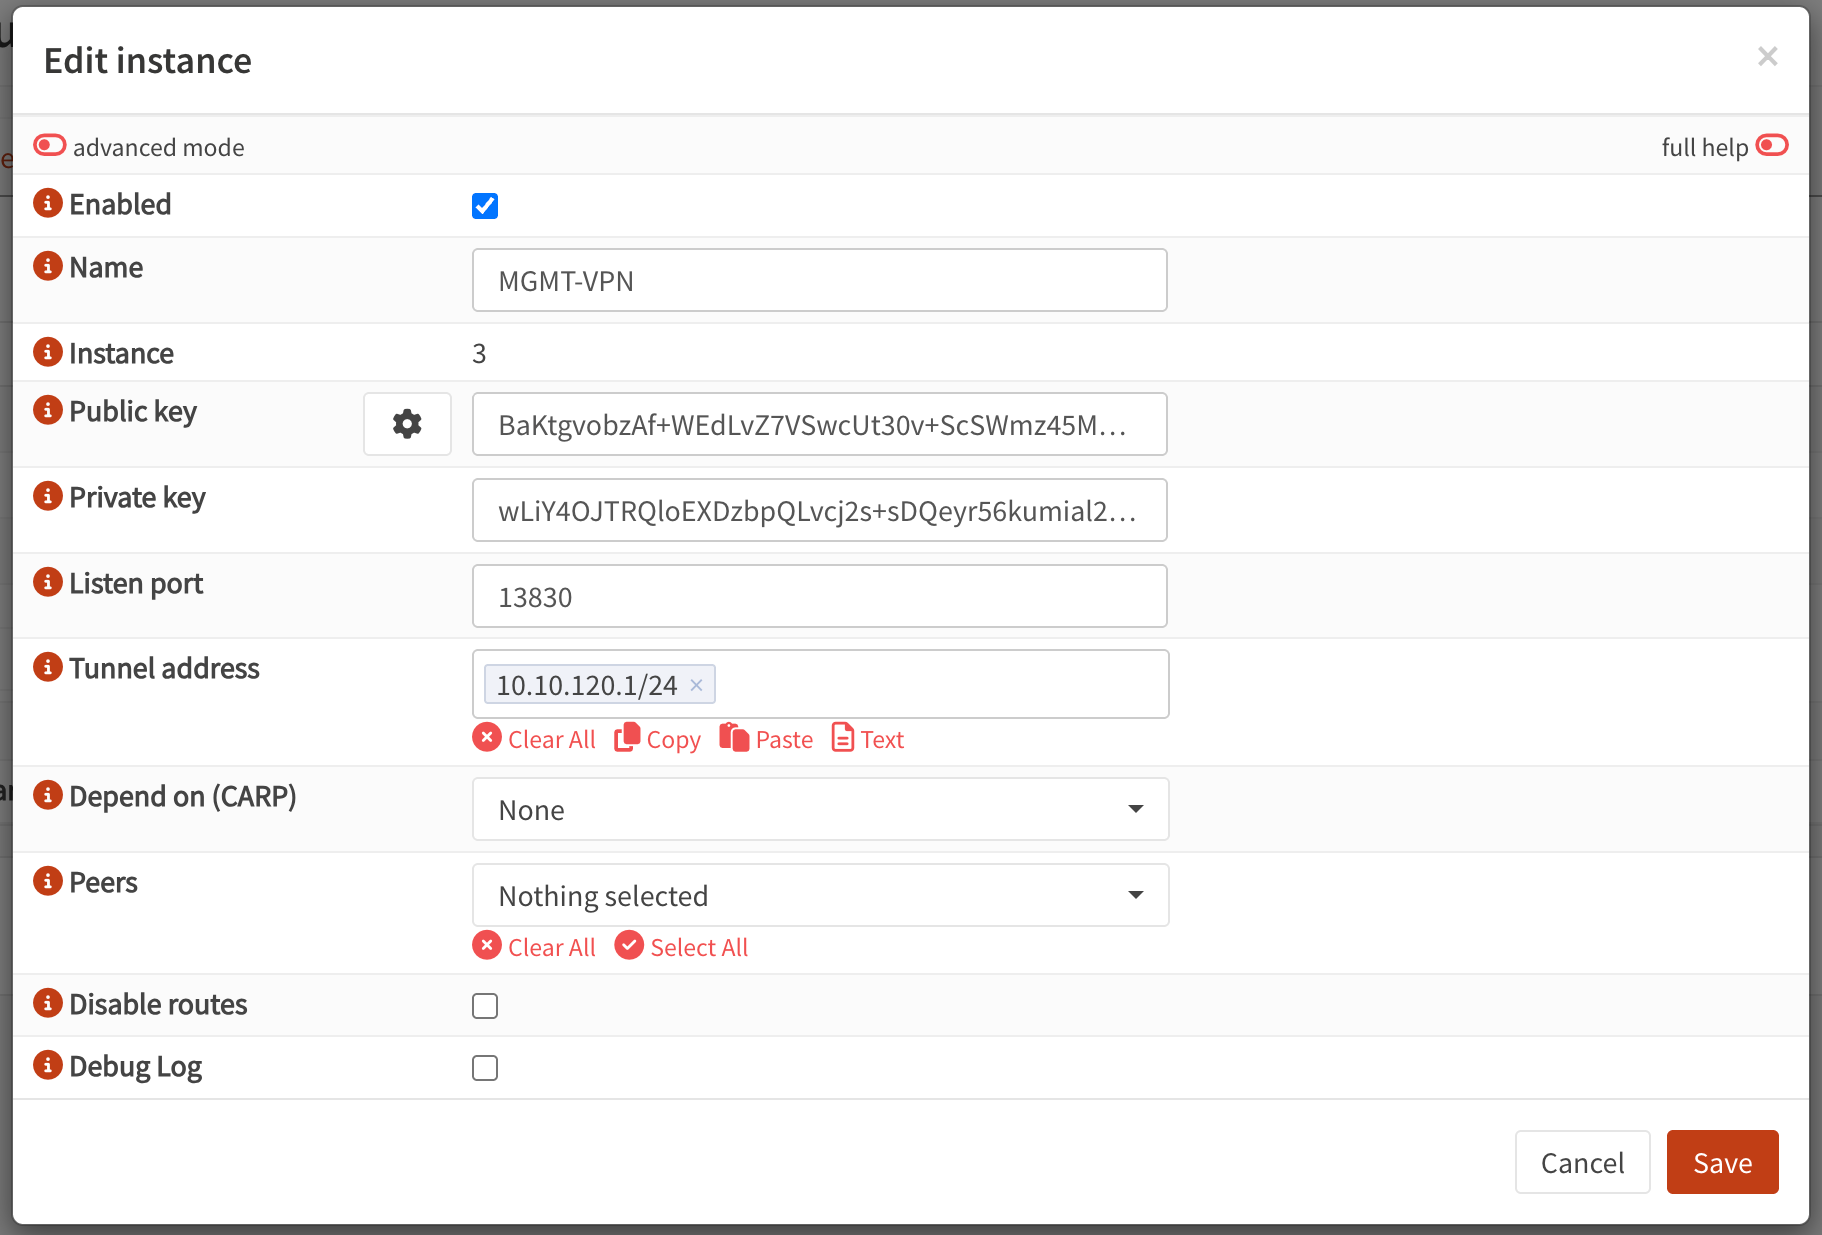
First, check the "Enable WireGuard" option. Then click the "+" (Add) button, which will bring up a window called "Edit instance". In here, you should set the following values:
- Enabled: Checked
- Name: The name of this WireGuard instance, which is "MGMT-VPN" for this demonstration
- Public key: Click the gear (Generate new keypair) button to automatically generate a key in the field
- Private key: Should be automatically generated
- Listen port: The exposed port for this instance, which is "13830" for this demonstration
- Tunnel address: The tunnel address of this instance, which is "10.10.120.1/24" for this demonstration
- Depend on (CARP): None (not needed unless you run multiple OPNsense instances in HA)
- Peers: Empty for now, will be added later
- Disable routes: Unchecked
- Debug Log: Unchecked (unless you run into problems)
So it should look like below.
Then click "Save", and remember to check it in the list and click "Apply". The instance should now be up and running; the "Listen port" will be exposed through NAT-port-forwarding automatically.
Install on your client devices
Now, you need to install the client app/program on your client devices. I’m personally going to do this on an iPhone and MacBook, but there are ways to do it on Windows and Linux too.
iOS (iPhone)
Go into the App Store, search for the app "WireGuard" (which is the official one), and install it.
MacOS (MacBook)
In macOS, WireGuard doesn’t exist as an official Cask in Homebrew, so you will need to download it from the App Store too. Once again, the "WireGuard" app is the official one.
Create peers
There are different ways of creating VPN peers for the clients. But the easiest way is to use the super simple "Peer generator" tab in the OPNsense Web GUI at "VPN" -> "WireGuard".
Peer generator
When you are on this page, you will see plenty of options. It might be overwhelming at first, but it’s actually really simple to set up WireGuard peers using this tool! Just set the following options:
- Instance: The WireGuard instance to which the peer should be added (in this demonstration, the "MGMT-VPN")
- Endpoint: This is the FQDN + port number of the WireGuard instance that will be reachable over the internet. If you have followed my DDNS article, it will be something like "dc01.example.com:13830" where "example.com" is your domain name and "13830" is the exposed "Listen port”
- Name: The name of the VPN peer, for example "MGMT_Phil-MacBook-Pro-M4"
- Public key: Automatically generated, do not change
- Private key: Automatically generated, do not change
- Address: The address of the VPN peer. Automatically generated, do not change
- Pre-shared key: Click the gear (Generate new psk) button to automatically generate a pre-shared key
- Allowed IPs: The list of allowed IPs (in this demonstration, "10.10.10.0/24, 10.10.20.0/24, 10.10.21.0/24, 10.10.30.0/24, 10.10.80.0/24, 10.10.99.0/24")
- Keepalive interval: I usually set it to "25" for optimal performance
- DNS Servers: The DNS server for the client to use when connected to the VPN. This depends on which firewall rules you will have and where your DNS server listens, but for this demonstration, I will use "10.10.10.2, 10.10.10.4" and later enable firewall rules so they are reachable
It should now look like below.

Now, you can either scan the QR code in your phone app by opening WireGuard, clicking the "+" icon and then "Create from QR code", or you can copy and paste the "Config" on your PC by opening the WireGuard programme, clicking the "+" icon, selecting "Add Empty Tunnel..." and then replacing the entire existing configuration in there with the new one. When you have added the peer on any of your WireGuard clients, you also need to click the "Store and generate next" check button in the peer generator above. This is important, do not forget it.
Add a tunnel in the desktop app
When you have copied the configuration from the peer generator and pasted it into a new empty tunnel in the WireGuard app, it should now look like below.
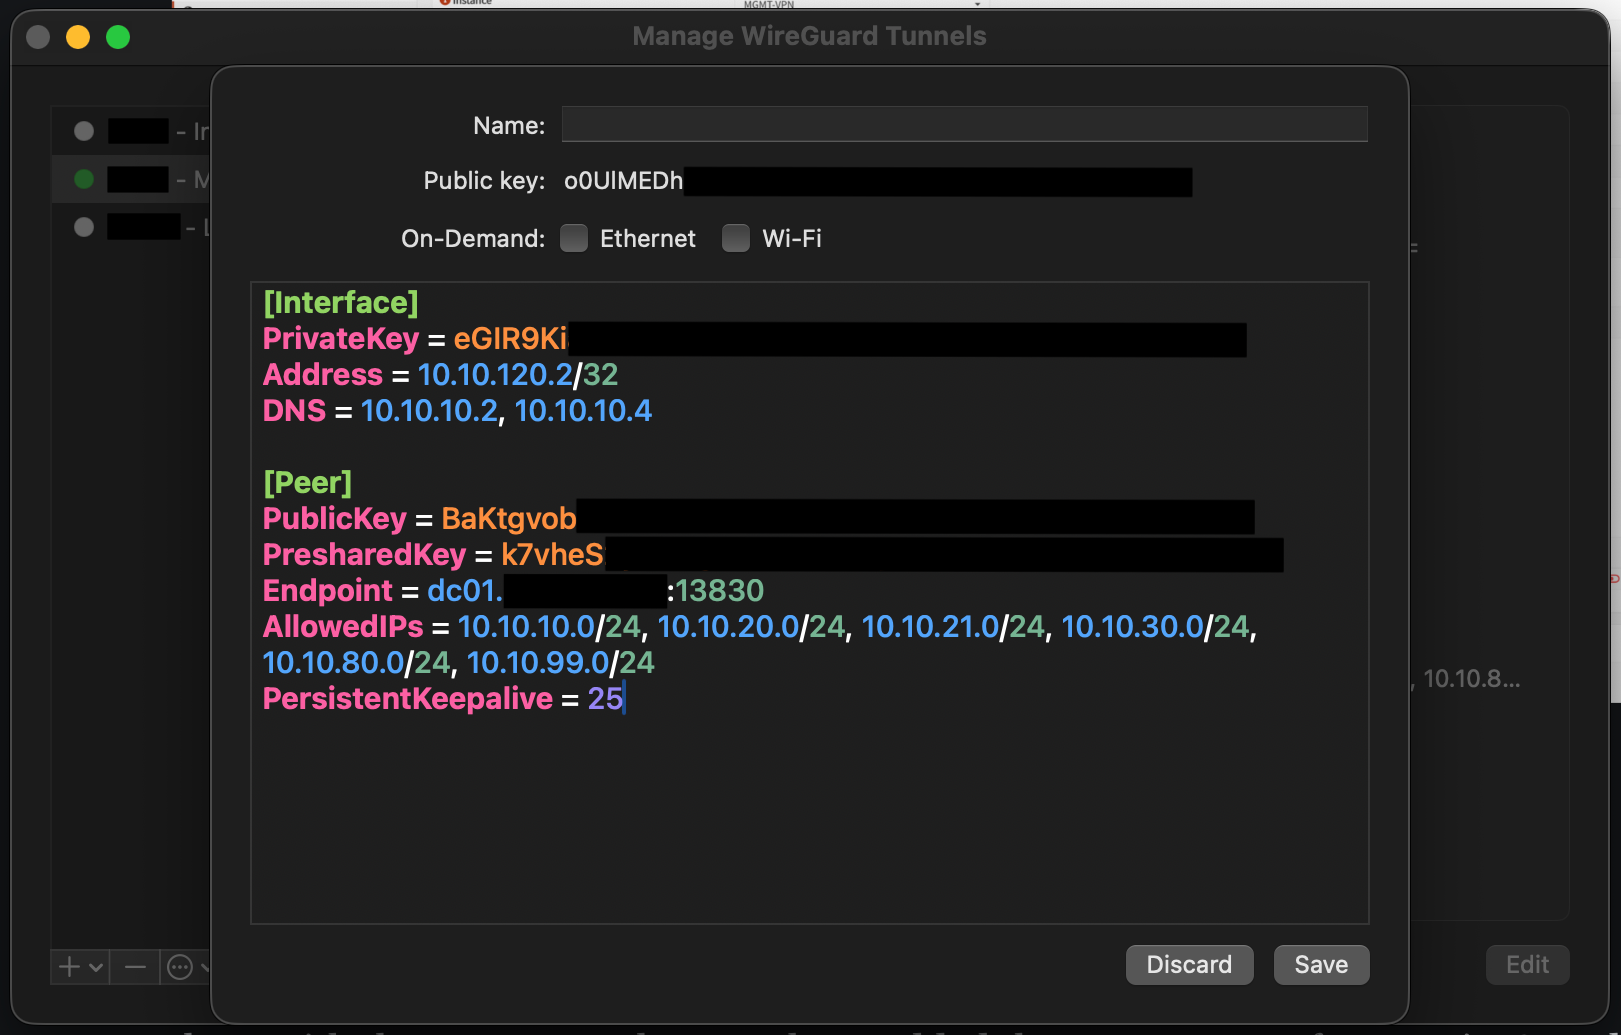
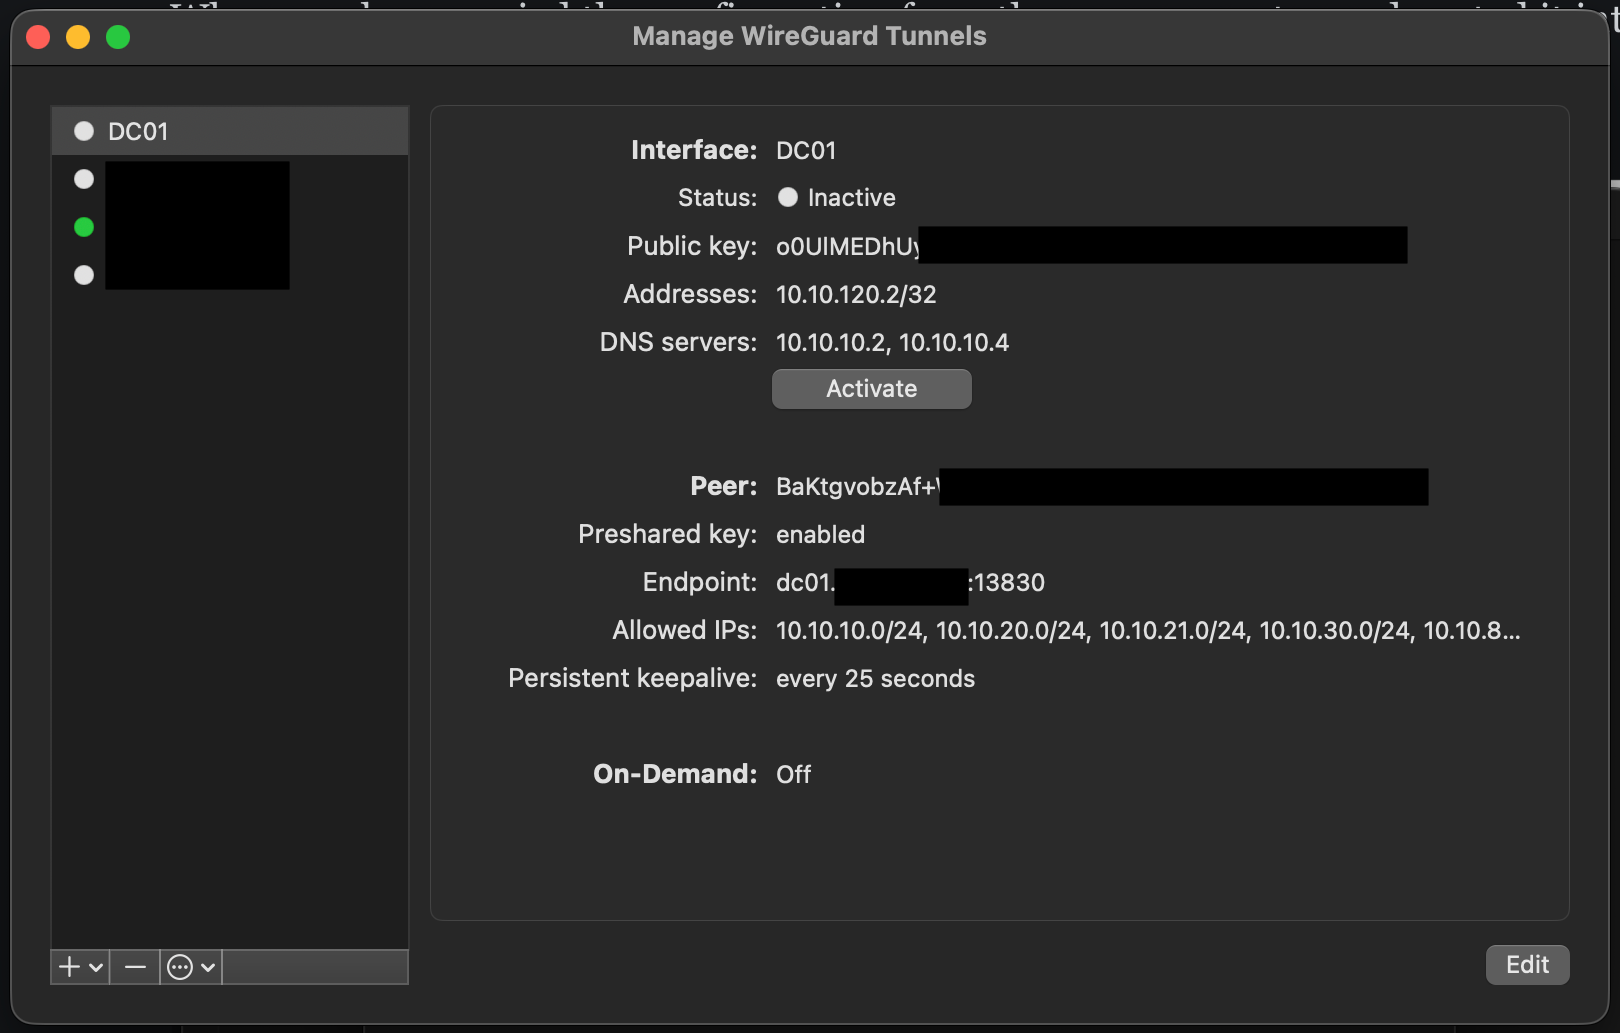
Now, give the new VPN tunnel a name (only as a reference for this VPN tunnel for the client) and click "Save". It should now be working if you click the "Activate" button, as seen below.
Add a tunnel to the phone app
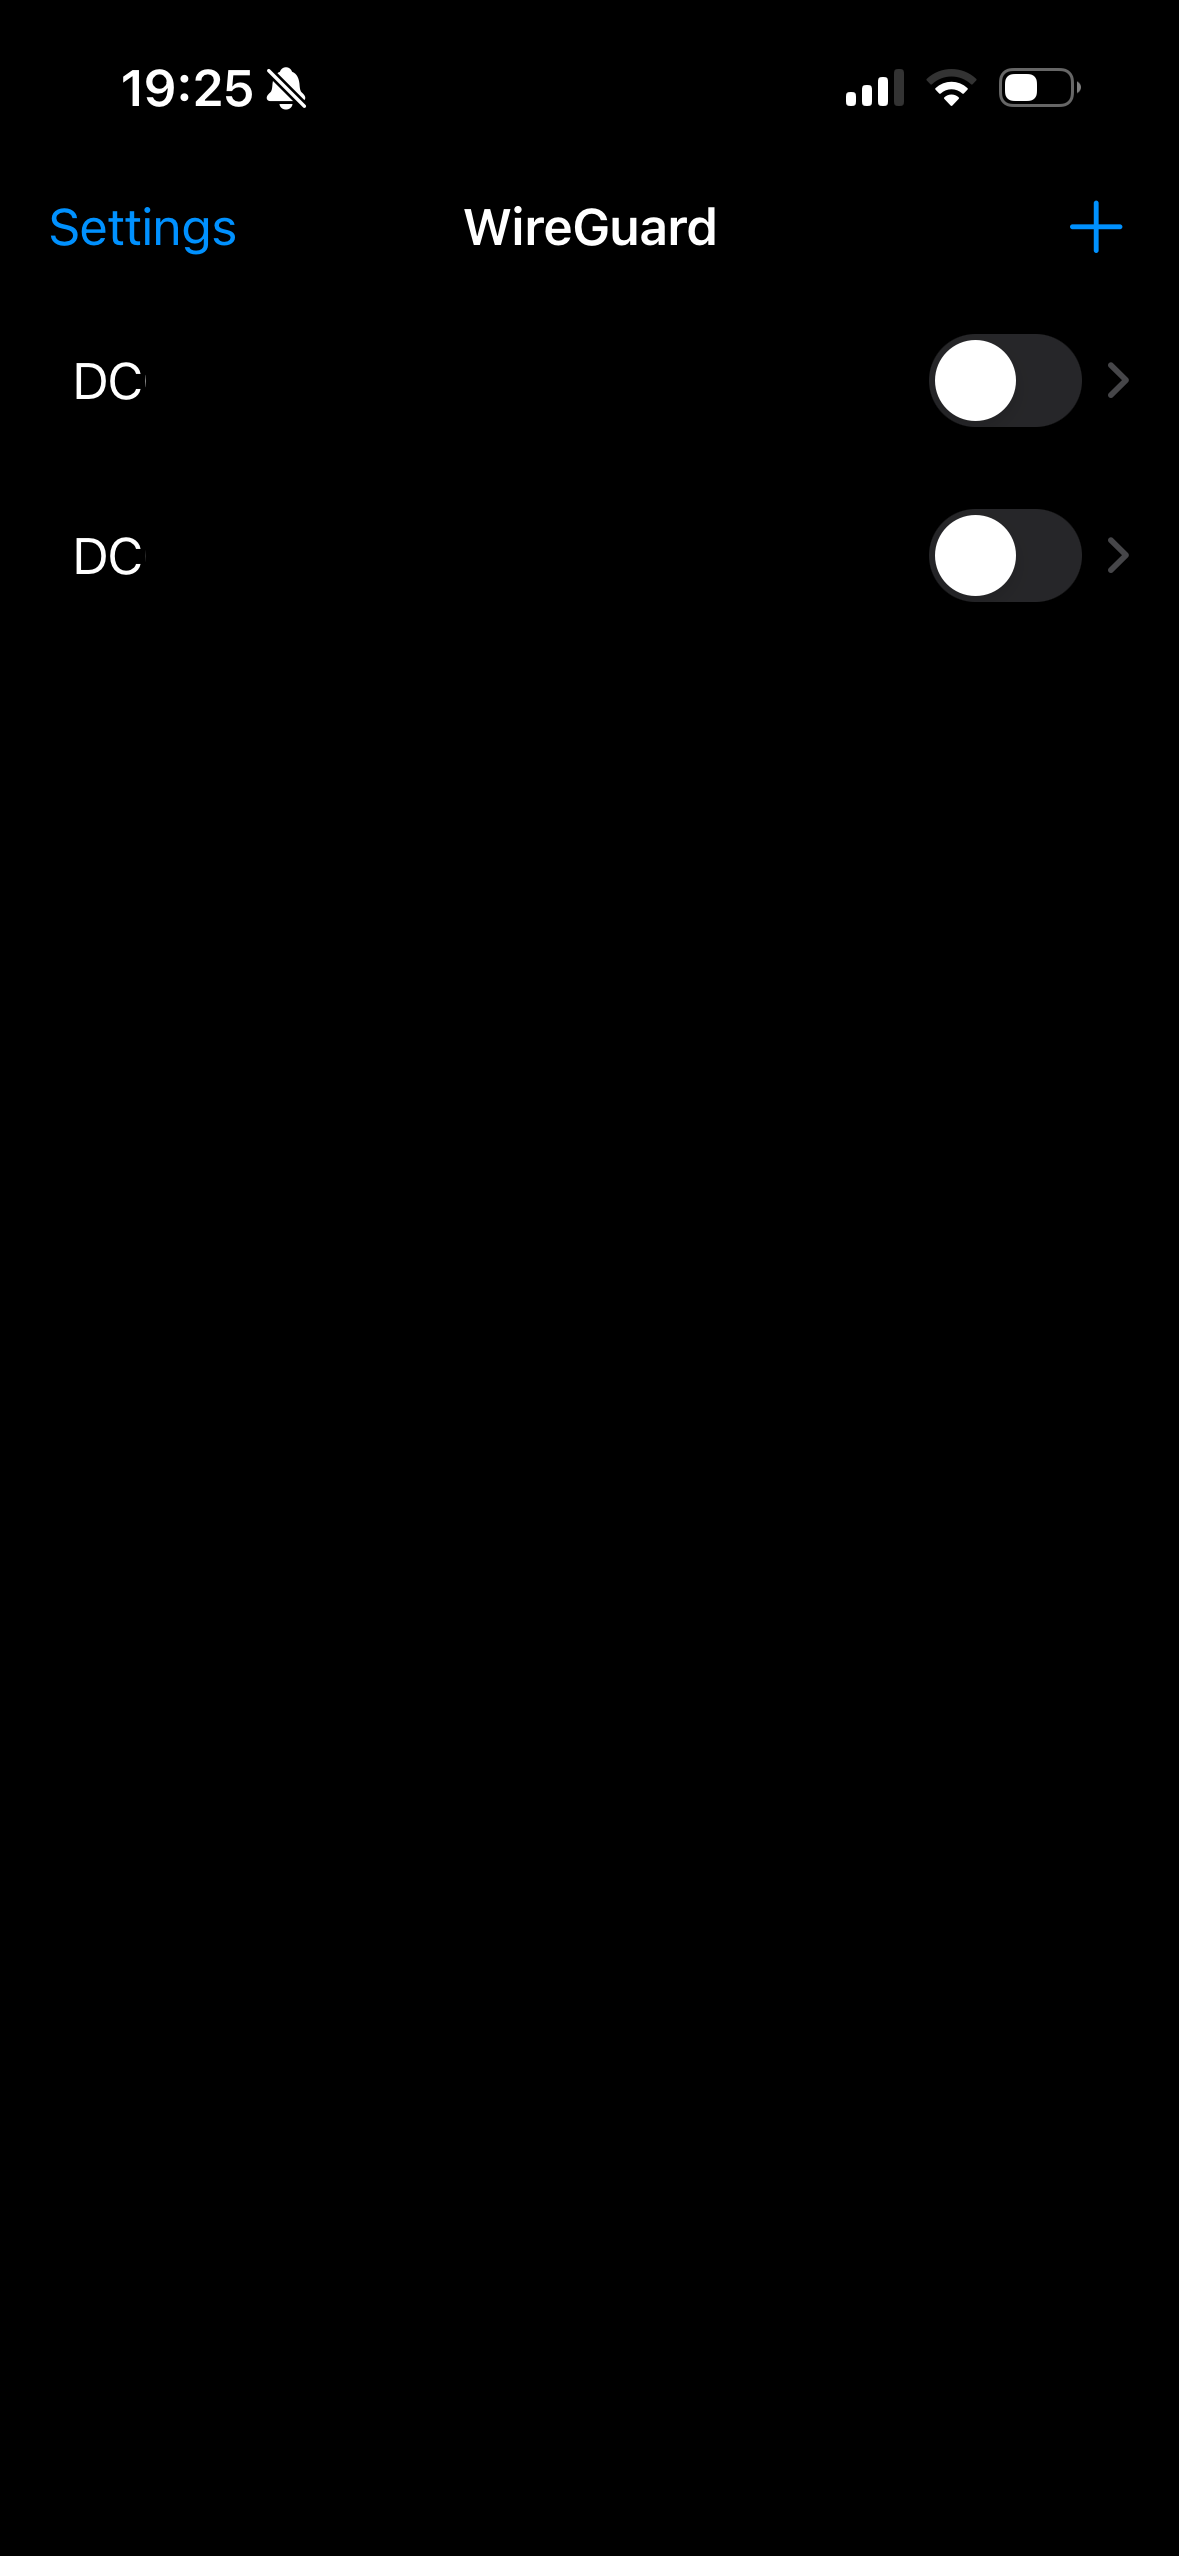
In the phone app, you can add a tunnel even simpler. You just open the WireGuard app and click the "+" icon in the top corner to the right (see picture below).
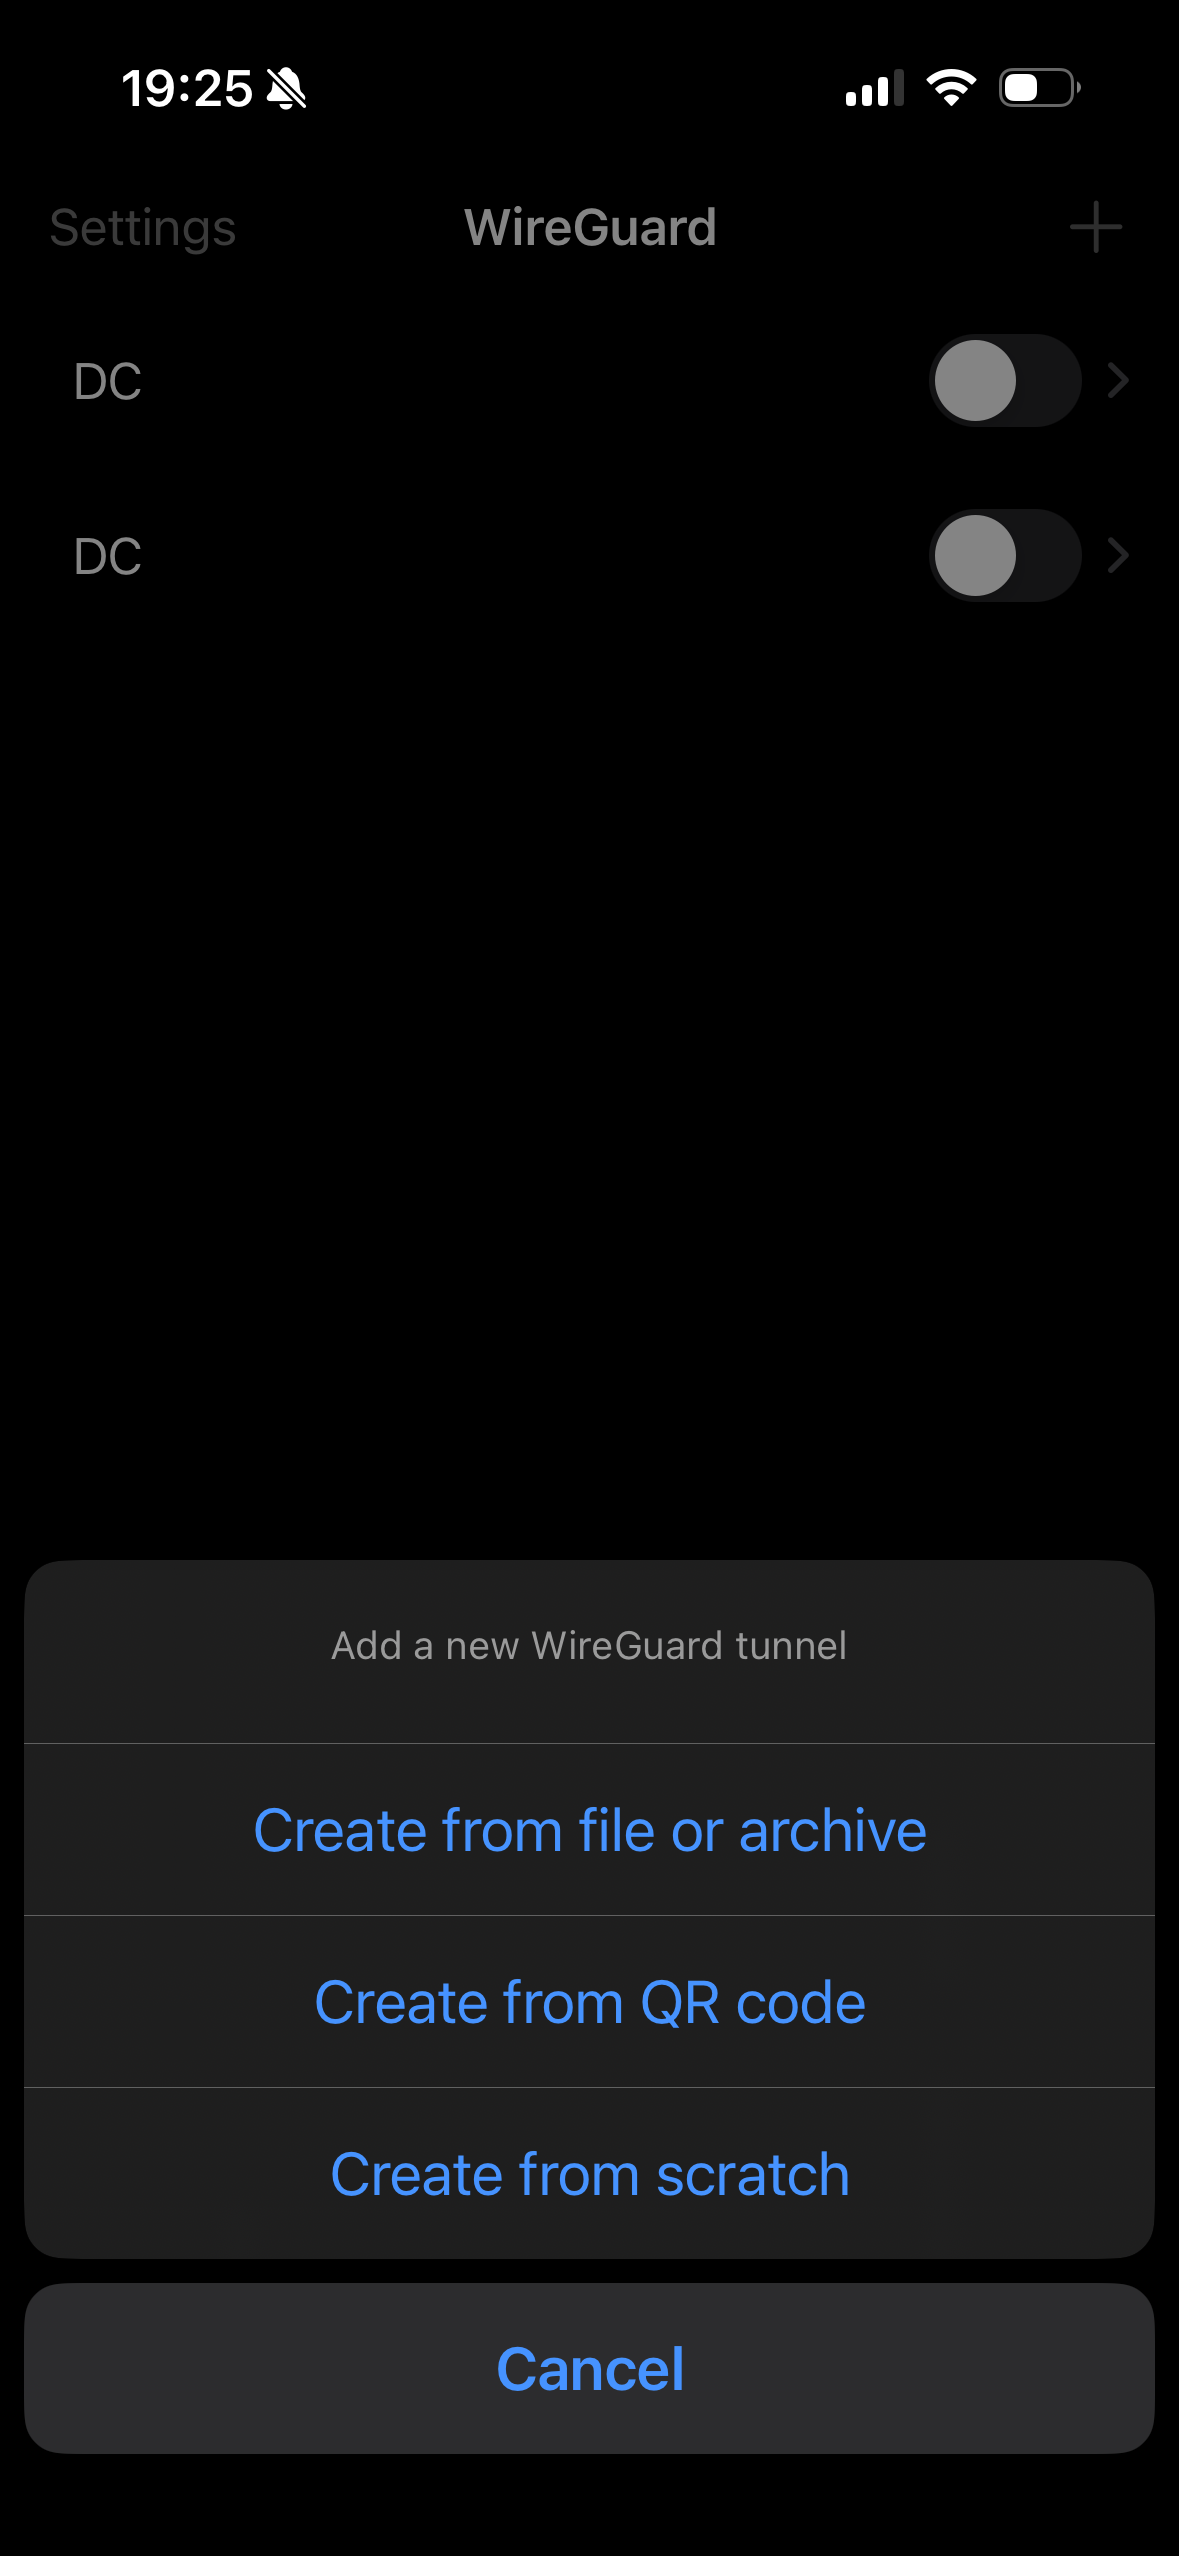
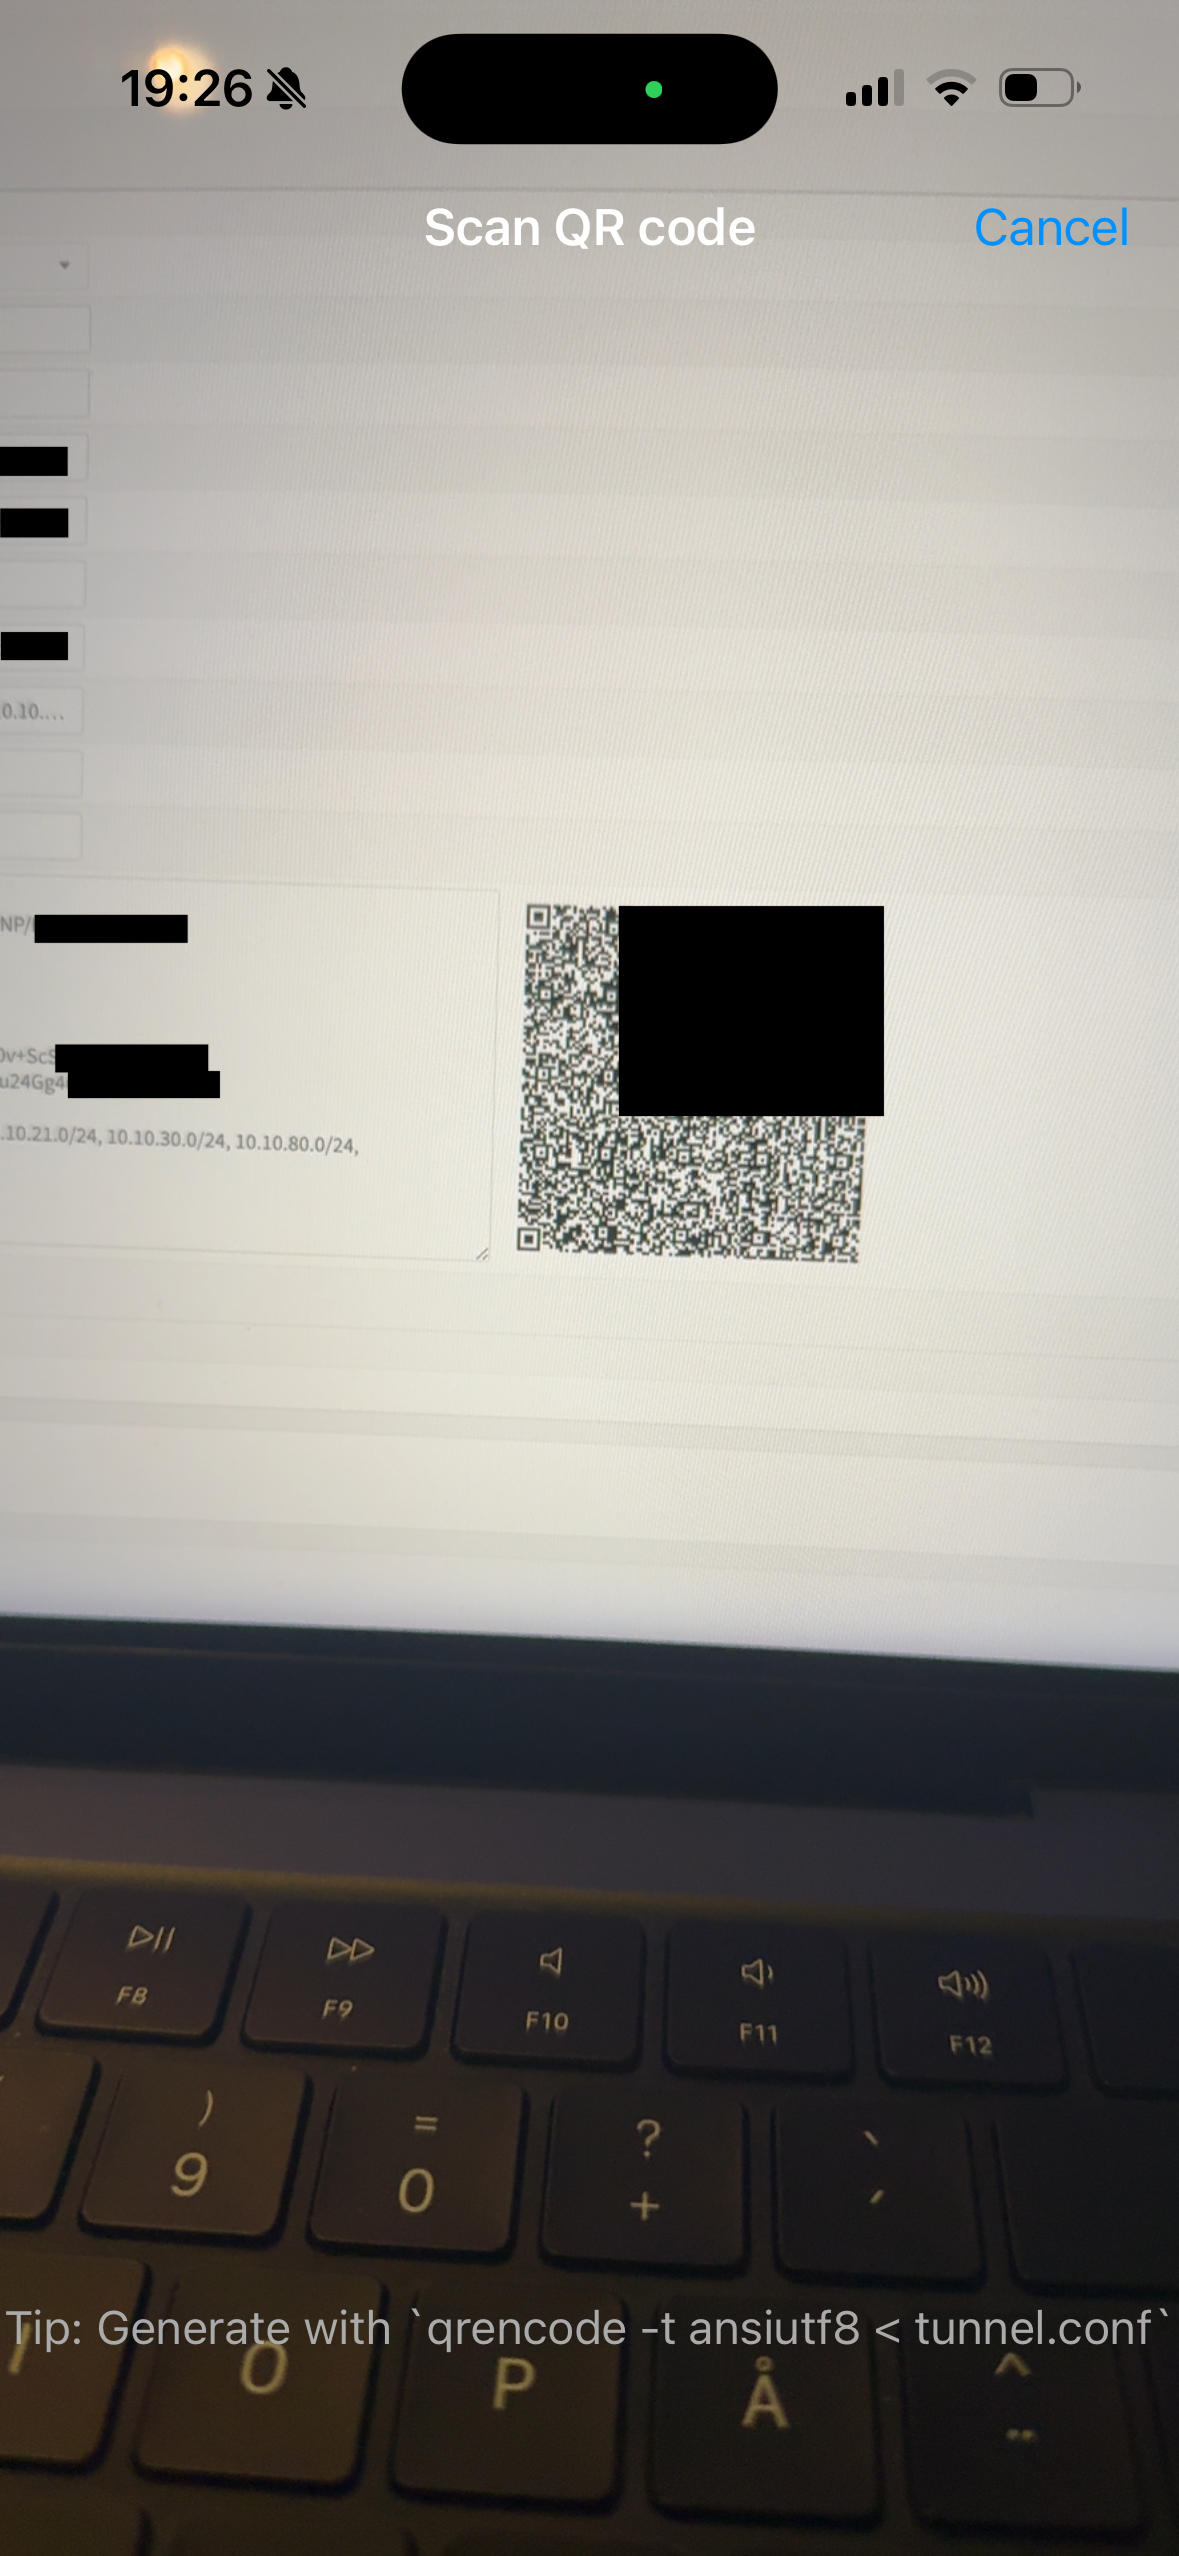
Then click "Create from QR code", as seen below.
Then you just simply scan the QR code on your computer’s screen (as seen below) and give the new tunnel a name.
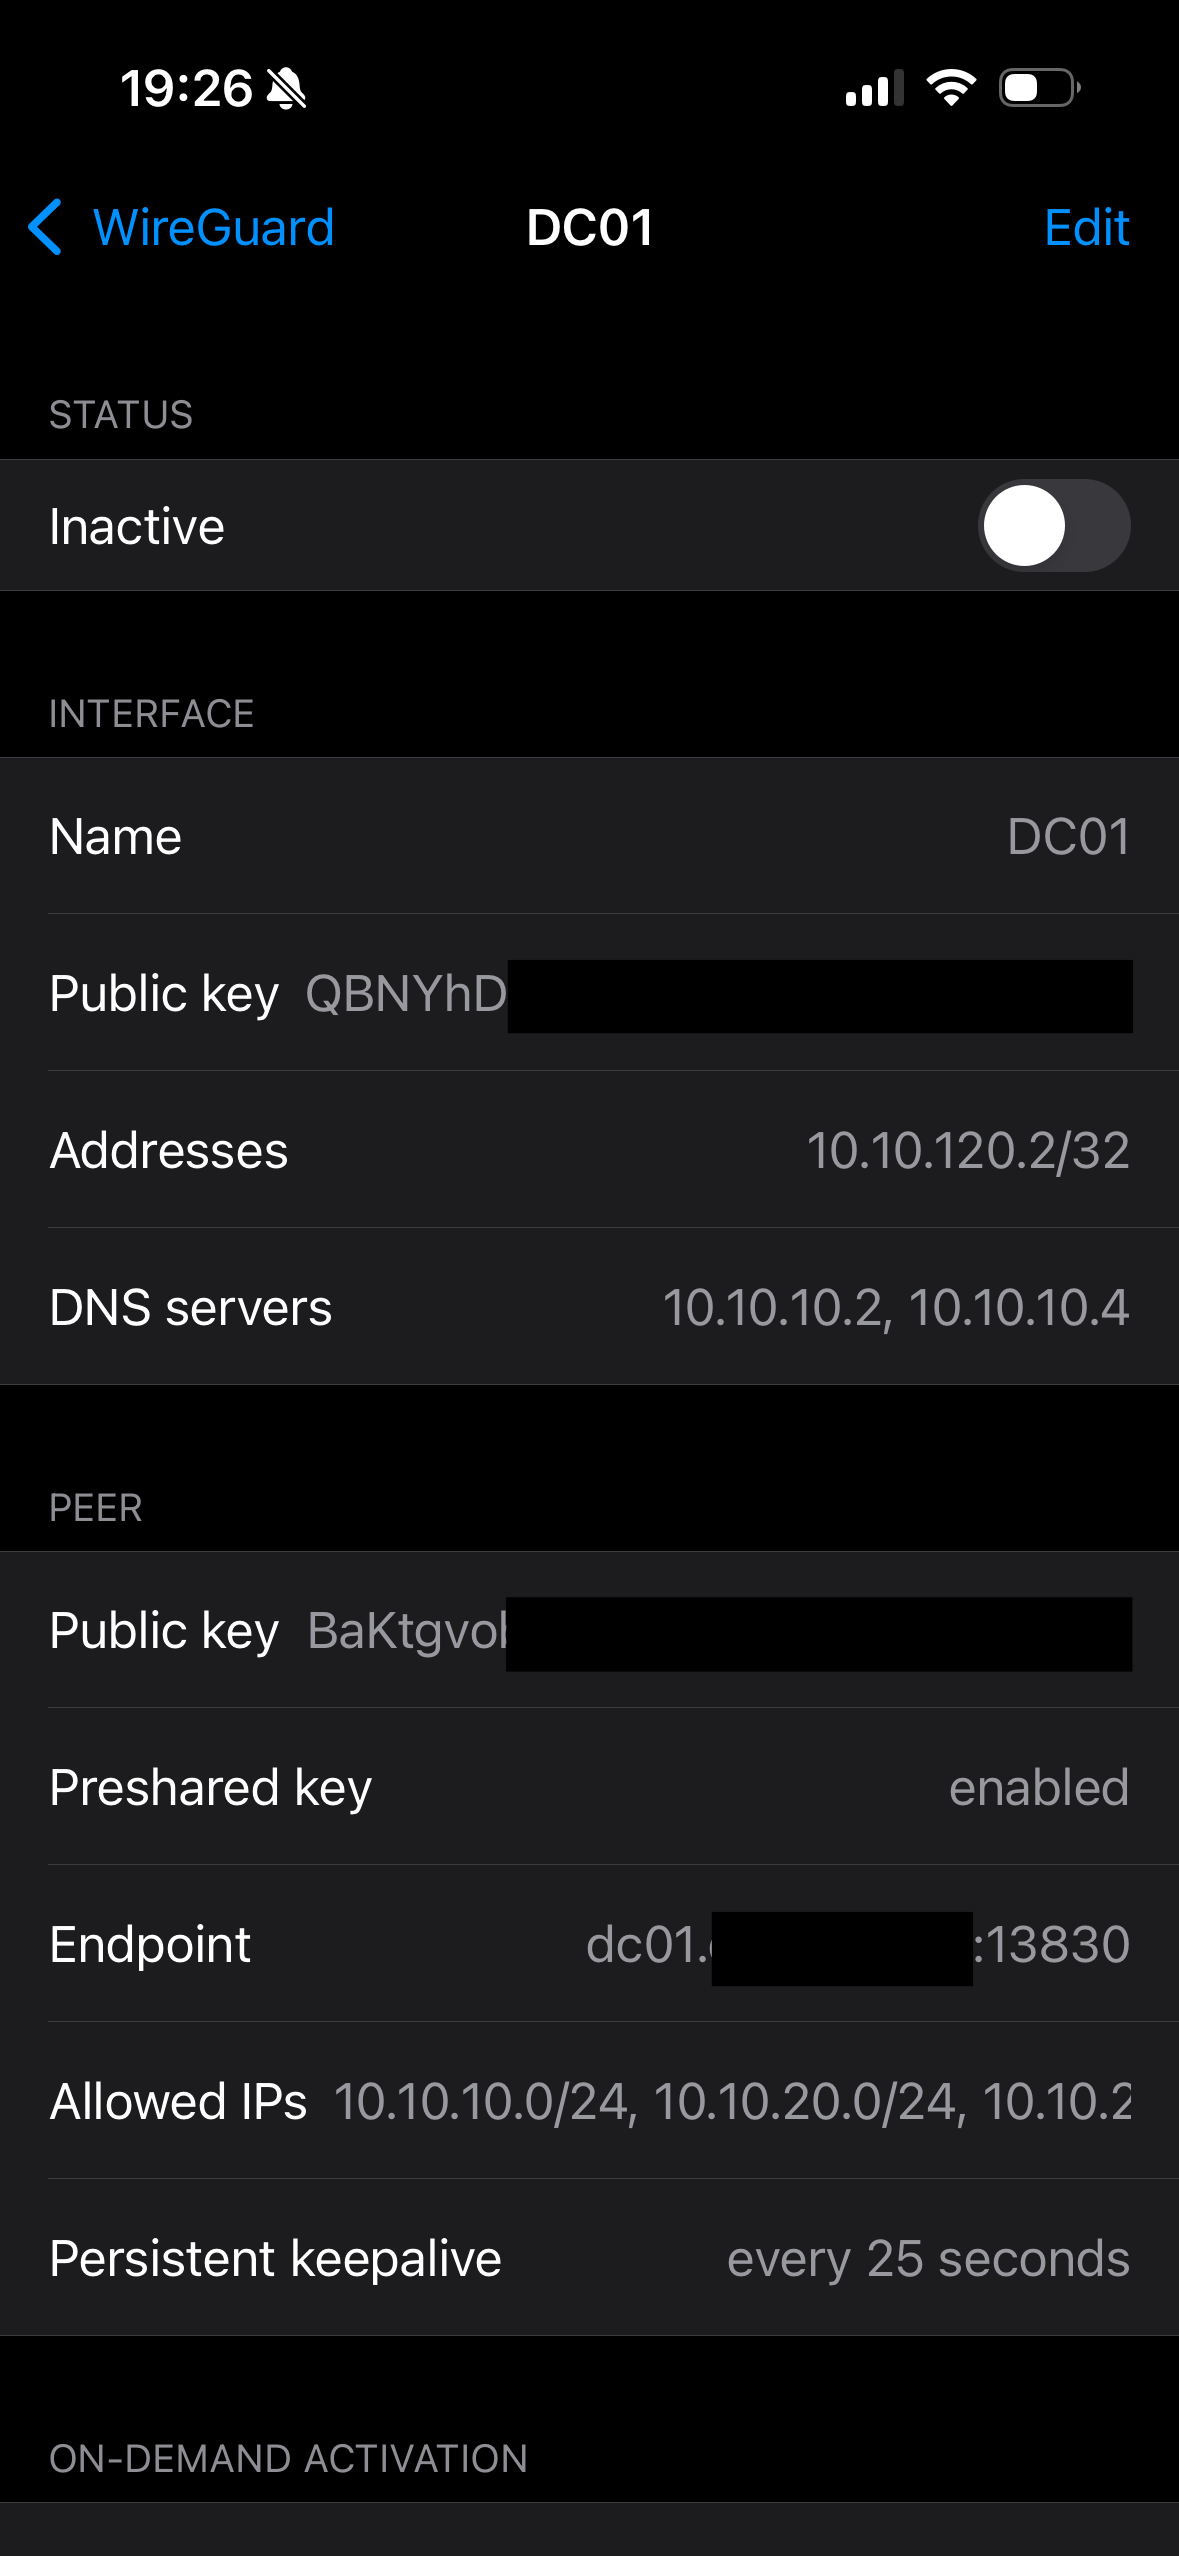
And lastly, enter the instance (as seen below) and click the switch next to "Inactive".
Then you are done!
Note: you will not be able to access anything yet, though. You first need to configure some firewall rules to actually allow routing from your VPN tunnel network to your other VLANs. I will show how to do this in a future article.
Now you are all set! If you have any thoughts, corrections, or questions, please write them in the discussion section down below or reach out to me on LinkedIn!
Thank you for reading! You can now connect to your home network remotely from anywhere. :)